Hardening
In this section we will discuss on how to secure communication between Mugnsoft components using certificates.
Configure Mugnsoft’s component to talk securely
To enable secure communication between each component, you need to enable HTTPS communication. To do so, open the component’s settings file (<component>.json) located in the root folder of that component, and set the parameter https to true.
Using auto-signed certificates
Each Mugnsoft component has the capability to automatically generate a self-signed certificate during installation, eliminating the need for you to create your own. This process occurs automatically during installation.
After the certificates are generated, they are exchanged to ensure secure communication between components, and that’s all.
Note for all the components:
Auto-signed certificate exchanges between Mugnsoft components are automatically managed by each component itself; you don’t need to worry about it.
Now, let’s consider a scenario where you have a third-party application running with its own certificate. To enable communication between the Integrator component and this third-party software, you’ll need to copy the certificate file from the third-party application and paste it into the Integrator component’s <component_installDir>/config/ssl/certificates/ folder.
You don’t need to restart each component; simply trigger the specific Mugnsoft component to reload its certificates folder (more details in the ‘Reload certificates folder’ section). This action ensures that all communication remains secure.
Additional information about communication between Mugnsoft’s components:
- The Monitor component serves as a client for the Integrator component.
- The Webserver component acts as a client for both the Monitor component and the Integrator component.
- The Integrator component acts as a client for third-party integrated tools.
Using you own certificates
You can provide a company-signed certificate to secure communication between Mugnsoft’s components. In this case, you need to place the certificate file in the following folder: <component_installDir>/config/ssl/certificates/, and the private key in the <component_installDir>/config/ssl/private/ folder for the specific Mugnsoft component.
If you are using a company-signed certificate for the Monitor probes component, add it to the Webserver’s folder located at <component_installDir>/config/ssl/certificates/. This enables secure communication between the Mugnsoft webserver and the Monitor probe.
If you are using a company-signed certificate for the Integrator component, add it to the folders of both the Webserver and Monitor components located at <component_installDir>/config/ssl/certificates/. This ensures secure communication between all the components.
You don’t need to restart your component; simply trigger the specific Mugnsoft component to reload its certificates folder (more details can be found in the ‘Reload certificates folder’ section). After this step, your component’s webserver and API server will be able to communicate securely using HTTPS with the component to which the certificate belongs.
Note for all the components:
If you configure one component to use HTTPS, then all the other components should also operate using HTTPS.
The same principles of certificate file exchange mentioned in the previous statements apply when using your own certificate files.
Internal component secret (_sharedInternal)
Beyond TLS, every Mugnsoft component runs an internal machine account named adminMNS that the other components use to authenticate to its API. For example, the Webserver logs into a Monitor probe’s /loginComponent endpoint when you Enable it or Push Settings, and the Integrator logs into the Webserver to pull data. The password of that account is the shared internal secret, set with the _sharedInternal key in each component’s <component>.json file.
One value, every component
_sharedInternal must be identical in every component’s config file (monitor.json, webserver.json, integrator.json, discovery_agent.json). If one component carries a different value, component-to-component actions such as Enable, Push Settings, and token resync fail, and the target component’s log shows a bcrypt password-mismatch error:
crypto/bcrypt: hashedPassword is not the hash of the given password
| Field | Type | Description | Default |
|---|---|---|---|
_sharedInternal |
string | Password of the internal adminMNS machine account, used for component-to-component API authentication. Must match across all components. When empty, the component skips creating adminMNS (fail-closed) and cannot be driven by the Webserver |
shipped default in the sample config files |
Rotating the secret
- Choose a new strong value.
- Set the same
_sharedInternalin every component’s<component>.json. - Restart each component. On start, each one re-hashes its stored
adminMNSpassword to match the configured secret (self-healing), so a stale value left by a previous install is corrected automatically — no database wipe needed.
<component>.json as a secret-bearing file and restrict its filesystem permissions.
Reload certificates folder
You need to reload the component for it to recognize new certificates placed in the certificates folder. For example, if you’ve added a new monitor probe, to enable communication between the webserver and that monitor, you should add the monitor’s certificates to the webserver’s certificates folder and then initiate a folder reload.
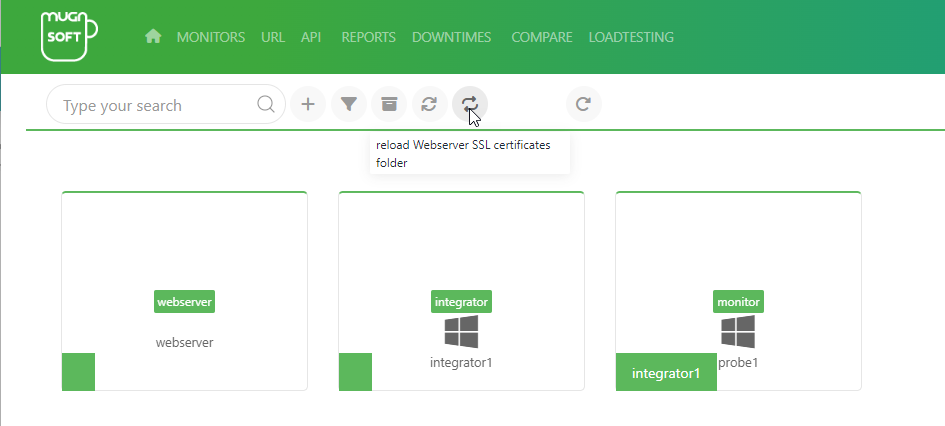
For Mugnsoft webserver
- For the webserver Click on the reload certificates button on the top of the page body

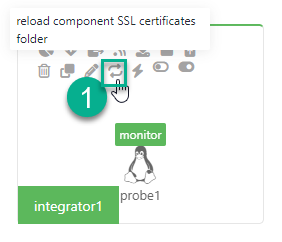
For other component
Select the component you want for which you want to reload the certificates folder
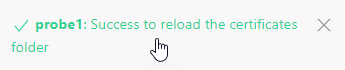
- Click on the reload ssl folder icon
At the bottom right, upon success you should see the below notification:
Reload Authentification Token
If the certificates have been manually installed, to enable secure communication between all the registered components, we need to resynchronize authentication tokens. Here’s how to do it below:
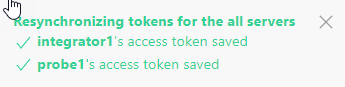
- Click on the resynchronize authentification token icon
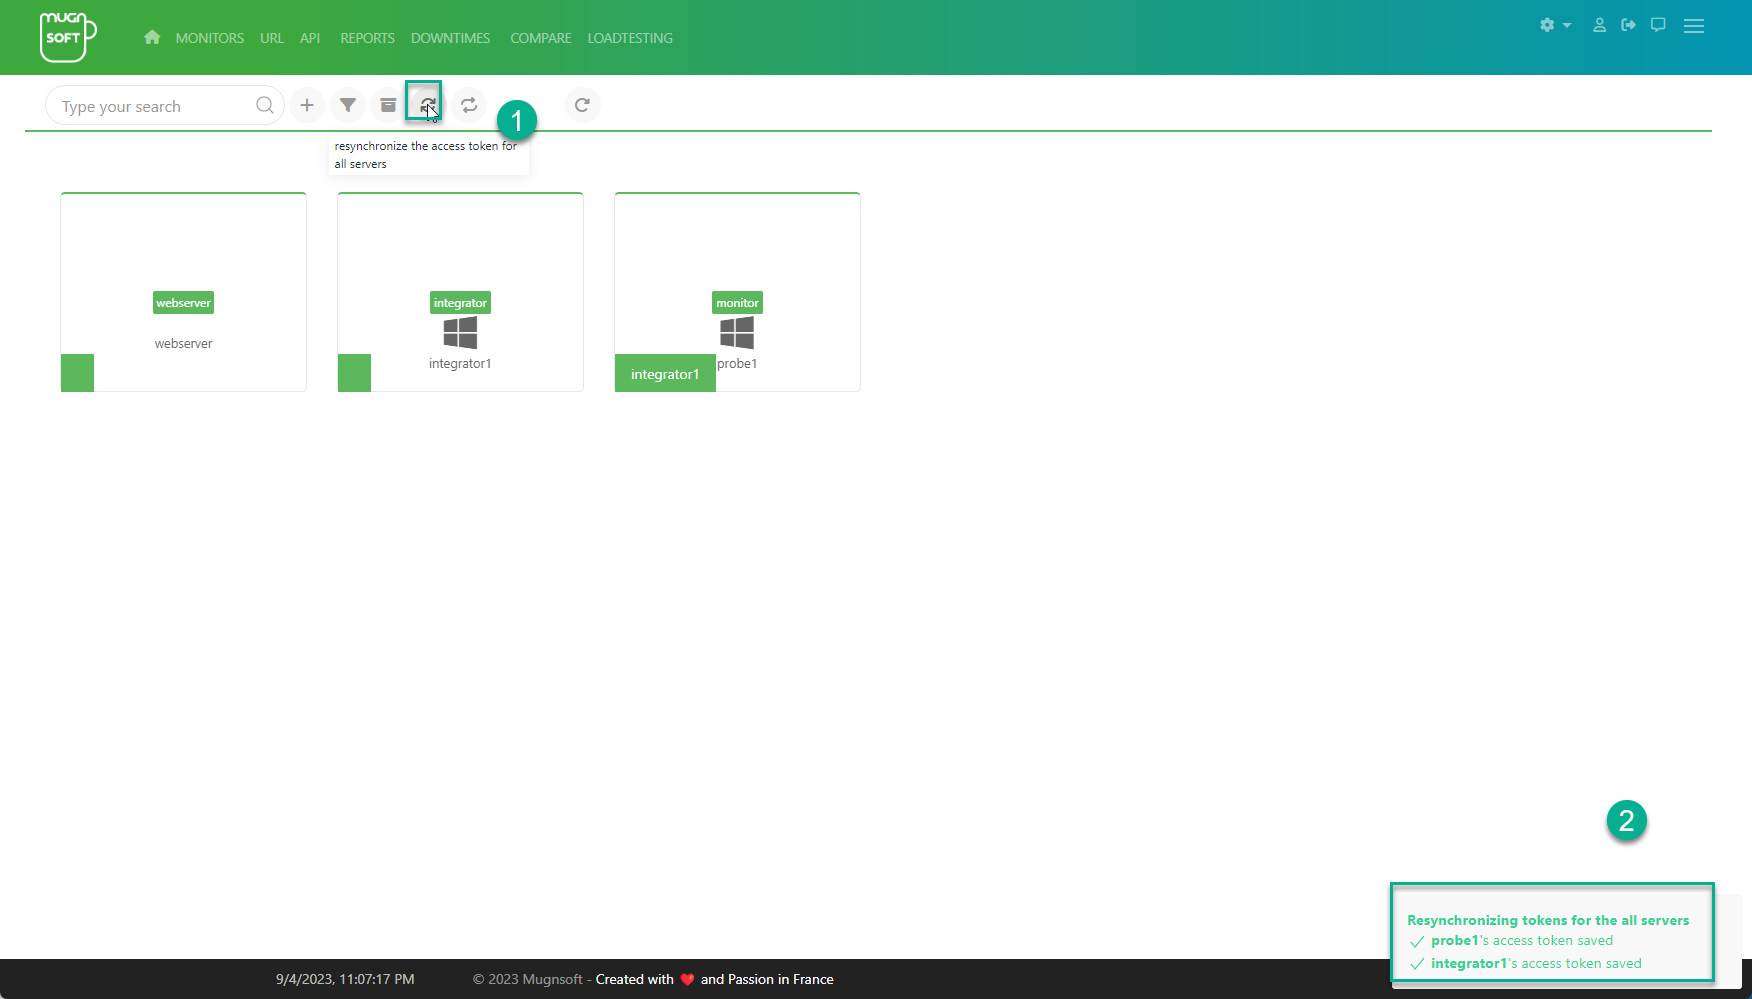
At the bottom right, upon success you should see the below notification: