Install on Docker
This guide installs the Webserver, a Monitor probe and an Integrator with Docker Compose, from the official images.
Prerequisites
- A working Docker environment (Linux host, amd64)
- Docker Compose v2 (
docker compose; the olderdocker-composebinary works the same way) - Your Mugnsoft licence files
Sentinel Agent
1. Set up a Compose project
Create a folder for your Compose configuration:
mkdir mugnsoft && cd mugnsoft
2. Create the .env file
This file sets the image version, the host ports and where the data lives. Copy and adjust it:
cat > .env << 'EOF'
## Image version: Docker Hub tags are MAJOR.MINOR (4.2, 4.1, ...)
## use the newest tag listed on https://hub.docker.com/r/mugnsoft/webserver/tags
MUGNSOFT_VERSION=4.2

## Host ports
WEBSERVER_PORT_WEB=9092
WEBSERVER_PORT_API=8060
MONITOR_PORT=8061
INTEGRATOR_PORT=8062

## Where the volumes are created
VOLUME_BASE=${PWD}

## Timezone of the components
TZ=Europe/Paris
EOF
3. Add the licence files
Copy the licence files received by email into the mugnsoft folder, named:
license_MNS_docker.dat(Webserver)license_MNS_integrator_docker.dat(Integrator)
4. Create the docker-compose.yml file
Docker images
Things this file must keep, because the images depend on them:
- The Webserver service is named
webserver: the Monitor and the Integrator reach it aswebserver:8050. - The containers have fixed IP addresses: each component registers its own IP with the Webserver, which connects back to it. An address that changes on restart would lose the component.
- The container ports are 8051 (Monitor) and 8053 (Integrator), the ports set in the images’ configuration.
cat > docker-compose.yml << 'EOF'
networks:
  mugnsoft:
    ipam:
      config:
        - subnet: 172.30.10.0/24

services:
  webserver:
    image: mugnsoft/webserver:${MUGNSOFT_VERSION}
    container_name: mugnsoft_webserver
    restart: unless-stopped
    networks:
      mugnsoft:
        ipv4_address: 172.30.10.10
    ports:
      - "${WEBSERVER_PORT_WEB}:9090"
      - "${WEBSERVER_PORT_API}:8050"
    environment:
      - TZ=${TZ}
    volumes:
      - ${VOLUME_BASE}/webserver_dbs:/home/mugnsoft/webserver/dbs
      - ${VOLUME_BASE}/webserver_data:/home/mugnsoft/webserver/data
      - ${VOLUME_BASE}/webserver_config:/home/mugnsoft/webserver/config
      - ${VOLUME_BASE}/license_MNS_docker.dat:/home/mugnsoft/webserver/license_MNS.dat
      # the licence is bound to the host: the Webserver reads its machine-id here
      - /etc/machine-id:/host/etc/machine-id:ro

  monitor:
    image: mugnsoft/monitor:${MUGNSOFT_VERSION}
    container_name: mugnsoft_monitor
    restart: unless-stopped
    networks:
      mugnsoft:
        ipv4_address: 172.30.10.20
    ports:
      - "${MONITOR_PORT}:8051"
    # raw sockets for ping and traceroute monitors
    cap_add:
      - NET_RAW
    environment:
      - TZ=${TZ}
    volumes:
      - ${VOLUME_BASE}/monitor_dbs:/home/mugnsoft/monitor/dbs
      - ${VOLUME_BASE}/monitor_data:/home/mugnsoft/monitor/data
      - ${VOLUME_BASE}/monitor_config:/home/mugnsoft/monitor/config
    depends_on:
      - webserver

  integrator:
    image: mugnsoft/integrator:${MUGNSOFT_VERSION}
    container_name: mugnsoft_integrator
    restart: unless-stopped
    networks:
      mugnsoft:
        ipv4_address: 172.30.10.30
    ports:
      - "${INTEGRATOR_PORT}:8053"
    environment:
      - TZ=${TZ}
    volumes:
      - ${VOLUME_BASE}/integrator_dbs:/home/mugnsoft/integrator/dbs
      - ${VOLUME_BASE}/integrator_data:/home/mugnsoft/integrator/data
      - ${VOLUME_BASE}/integrator_config:/home/mugnsoft/integrator/config
      - ${VOLUME_BASE}/license_MNS_integrator_docker.dat:/home/mugnsoft/integrator/license_MNS.dat
    depends_on:
      - webserver
EOF
If the 172.30.10.0/24 subnet is already used on your host, pick another one and change the three addresses to match.
5. Create the volume folders
The containers run as a user with UID 1000. Create the folders and give them to that user, so the data survives restarts and upgrades:
mkdir -p ./{webserver_config,webserver_data,webserver_dbs}
mkdir -p ./{monitor_config,monitor_data,monitor_dbs}
mkdir -p ./{integrator_config,integrator_data,integrator_dbs}

sudo chown -R 1000:1000 ./webserver_* ./monitor_* ./integrator_*
6. Start and verify the containers
Start:
docker compose up -d
Check that the three containers are up:
docker compose ps
The Monitor and the Integrator register with the Webserver by themselves. The Webserver takes a moment to start, so they retry until it answers; follow it with:
docker compose logs -f monitor integrator
To upgrade later, change MUGNSOFT_VERSION in .env, then run docker compose pull && docker compose up -d. The data stays in the volume folders.
7. Minimum configuration
You can now access the Webserver WebUI in your browser at: https://<docker_host>:9092/
Please change the default pwd after logging.
Access

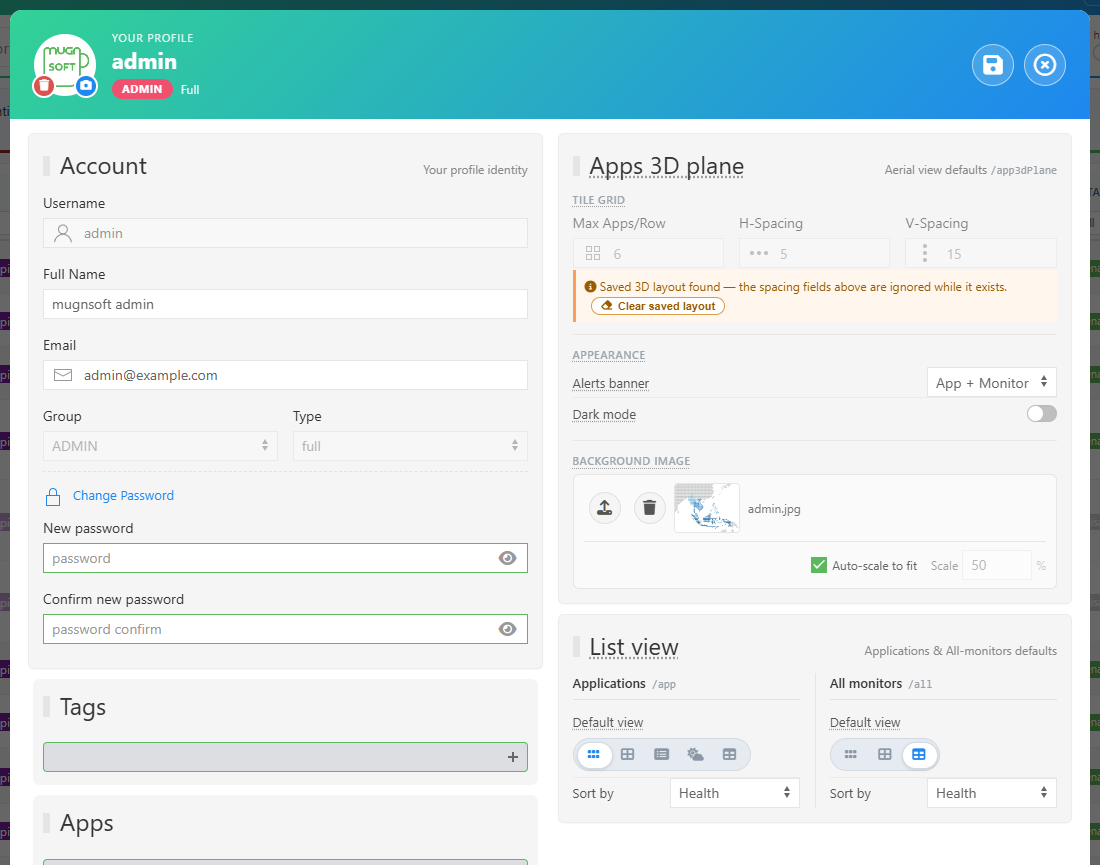
At the first login the default admin must choose a new password. You can change it again later from your profile (the avatar at the top right → Change Password).
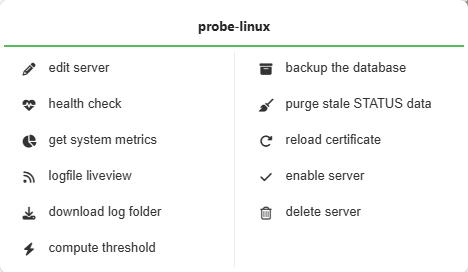
Enable the Integrator and Monitor components installed via docker-compose: open gear menu → components, right-click each one and choose enable server.
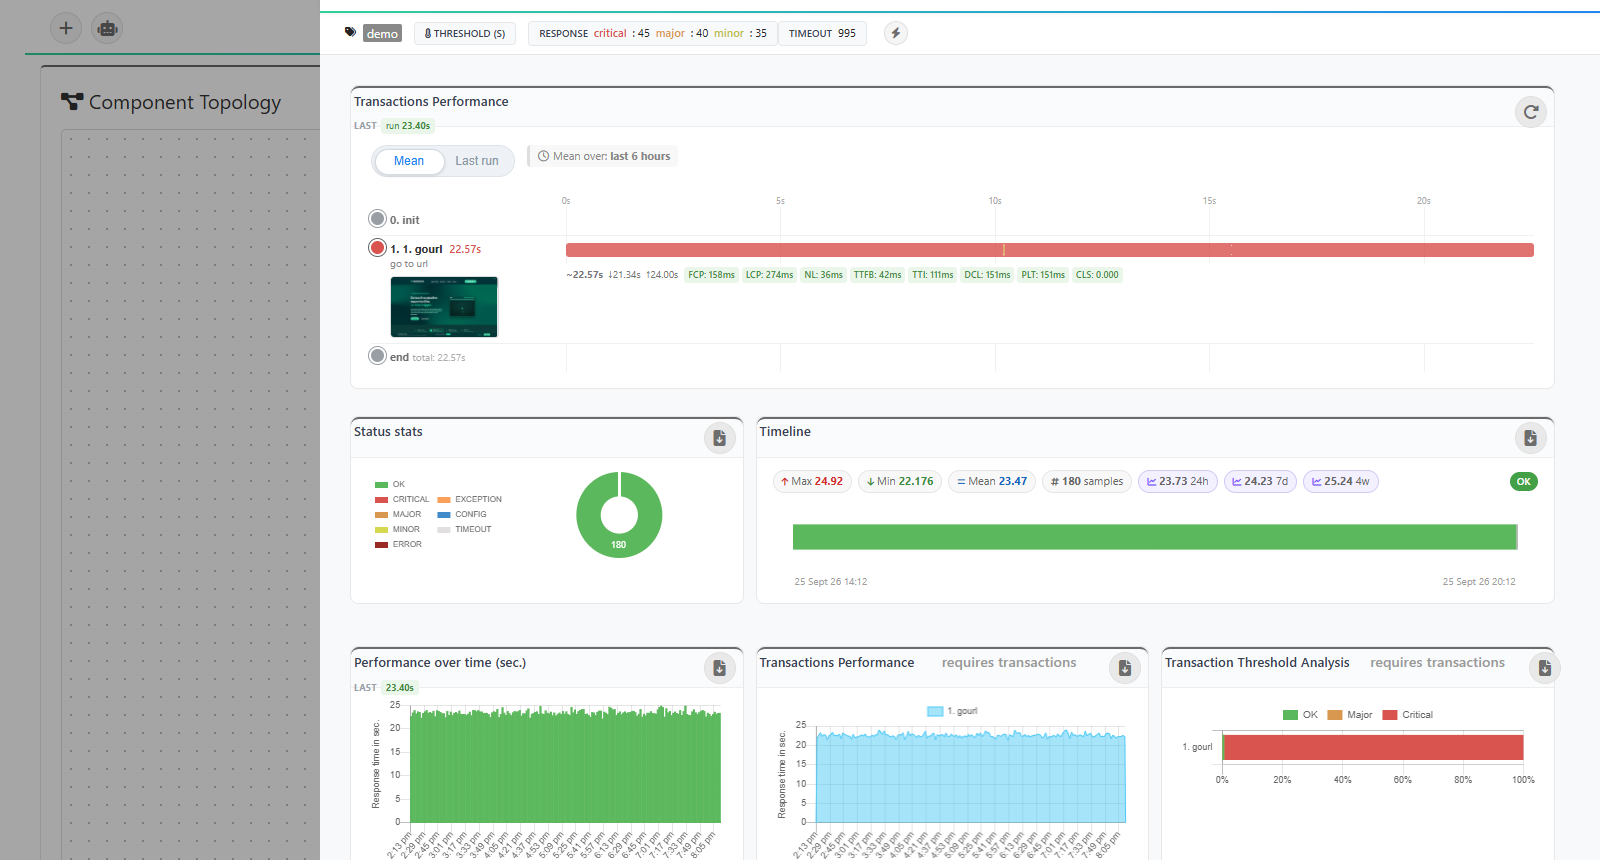
8. Import some dummy tests and a dummy app called demo app
First off, download the demo materials here.
You can import each csv files with the below steps:
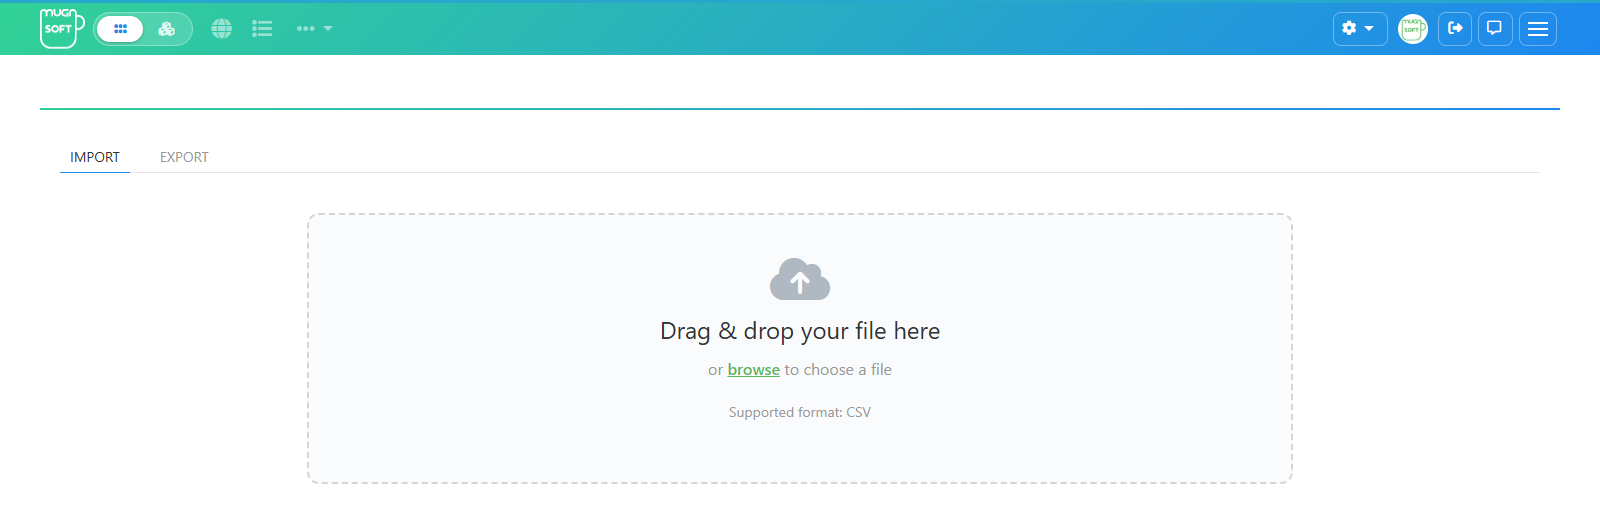
- Open gear menu → import/export; the IMPORT tab is selected.
- Drag each CSV file onto the drop zone (or click browse). The result of each import is reported in a notification.
- The imported monitors appear on the all monitoring page.
9. Configure SMTP (optional)
Optional
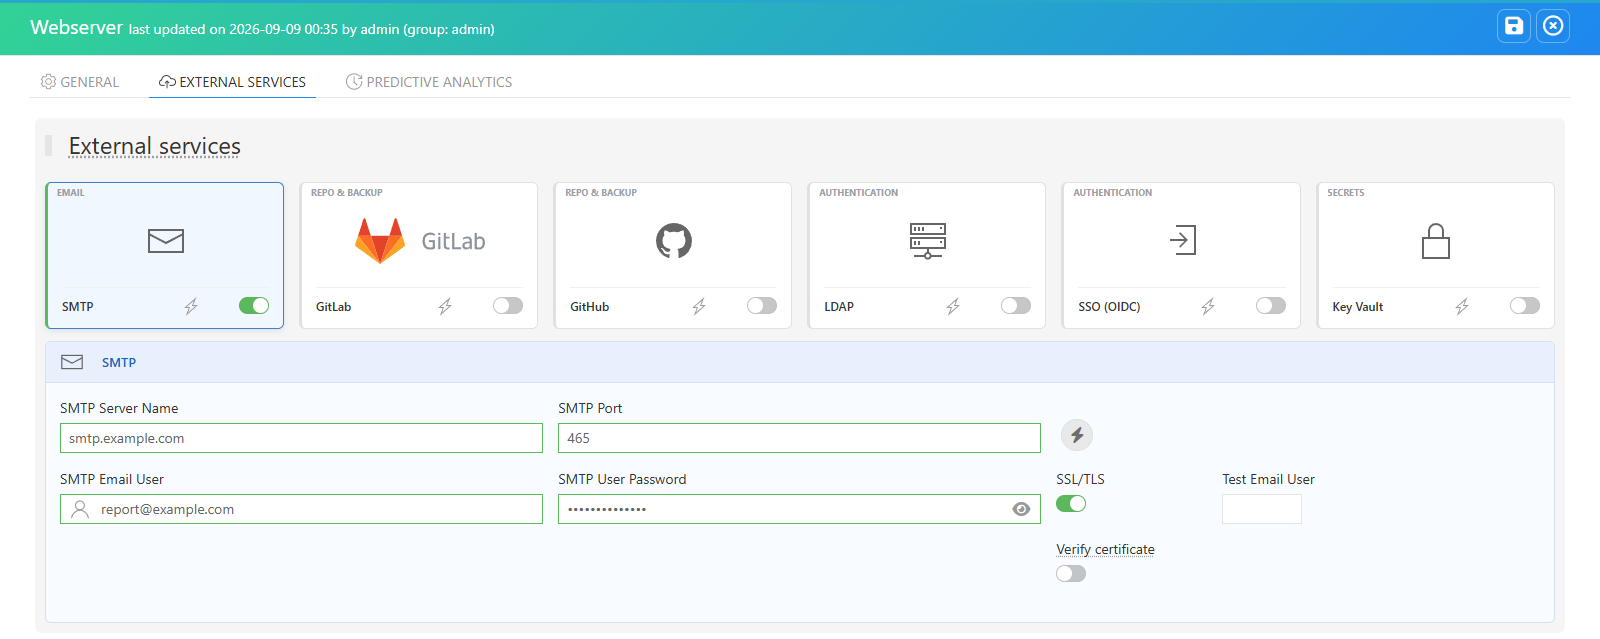
To be able to send email notifications and reports, you need to configure the smtp settings. This is done as below:
- Open gear menu → components, right-click the webserver node and choose edit server.
- In External services, click the SMTP tile, fill in the server, port, account and password, and set SSL/TLS (and Verify certificate for a trusted certificate).
- Enter a Test Email User, click ⚡ to send a test, then save with the disk icon. See Webserver settings.
10. Webdrivers for Monitor Component (optional)
Optional
On startup, the monitor downloads required webdrivers if it has internet access:
- Chrome: https://googlechromelabs.github.io/chrome-for-testing/
- Firefox: https://github.com/mozilla/geckodriver/releases/
- Edge: https://developer.microsoft.com/en-us/microsoft-edge/tools/webdriver/
If internet access is blocked, download and place them manually in <monitor_installDir>/drivers.
| Browser | Webdriver | Download Link |
|---|---|---|
| Chrome | Chromedriver | Download here |
| Firefox | Geckodriver | Download here |
| Edge | msedgedriver | Download here |
| Safari | Built-in | No driver required |
11. Install Mugnsoft Pulse App (optional)
Optional
This app enables automatic code generation for Mugnsoft scenarios. See the Mugnsoft IDE documentation.
| Type | Download Link |
|---|---|
| Windows (amd64) | Download here |
All component binaries are available on the Mugnsoft download page.